Showing posts with label snack. Show all posts

Friday, October 21, 2011

An apple a day....


....tastes delicious!  :-)


Apple picking has been a long time fall tradition for me.  It was a little bittersweet this year though.  I have had a tradition with two of my very dear friends since we were in college where we would have an apple picking weekend in a place I deemed "Cow Town."  Really it is in Washington County, NY not too far from Lake George.

Here we are in 2003 at the orchard.

Please don't judge my TERRIBLE haircut!  
I was trying to grow it out after some horrific trims!

And here we are enjoying some yummy treats from our harvest.


Fast forward to 2009 where we are all married and keeping the tradition alive!


There were even 2 little ones joining in the festivities!


Man I miss those days!

I was absolutely going to make sure that the tradition lived on even if I couldn't be with my favorite apple pickers.  I guess this guy will have to do:  :-P


Apple picking farms aren't as common in GA as they are in NY so we had to drive an hour and a half to find the first one.  It was a bit more commercialized than I am used to, but it had what we were looking for and that's all that mattered!


So we brought our dozens of apples home, scrubbed them clean,

 and got to baking!

We ended up making:

2 apple crisps (not pictured):

Recipe comes straight off my old Hick's Apple Orchard picking bags:

Peel and slice 4 or 5 large apples into a baking dish.  Sprinkle with a crumb topping of 1/2 cup flour, 1/4 cup sugar, 1/4 cup butter, 1 tsp cinnamon.  Bake at 350 degrees for 1/2 hour. Serve warm with whipped cream.

Note: I often find that the amount of butter in this recipe is too much for the flour, sugar, and cinnamon amounts so I will often double the amounts of sugar, flour, and cinnamon...because really, the crisp is all about the topping!
------------------------------------------------------------------------------------------------------------

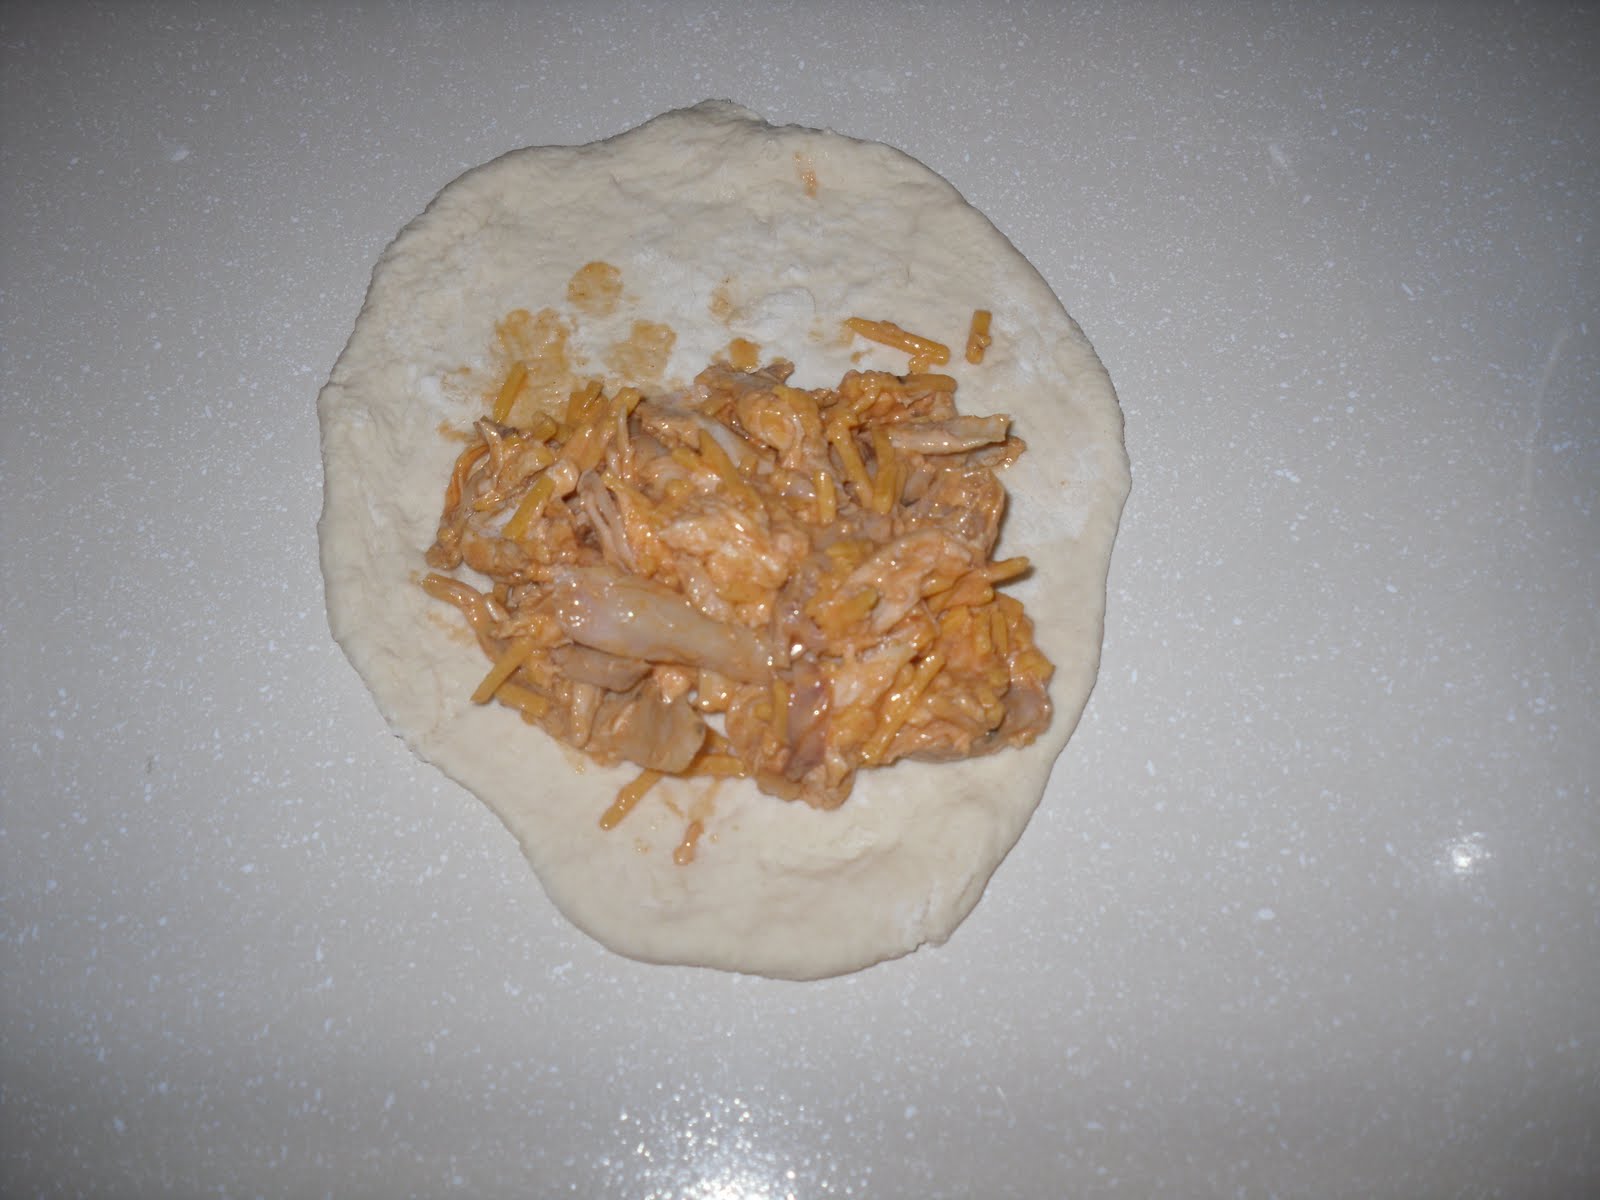
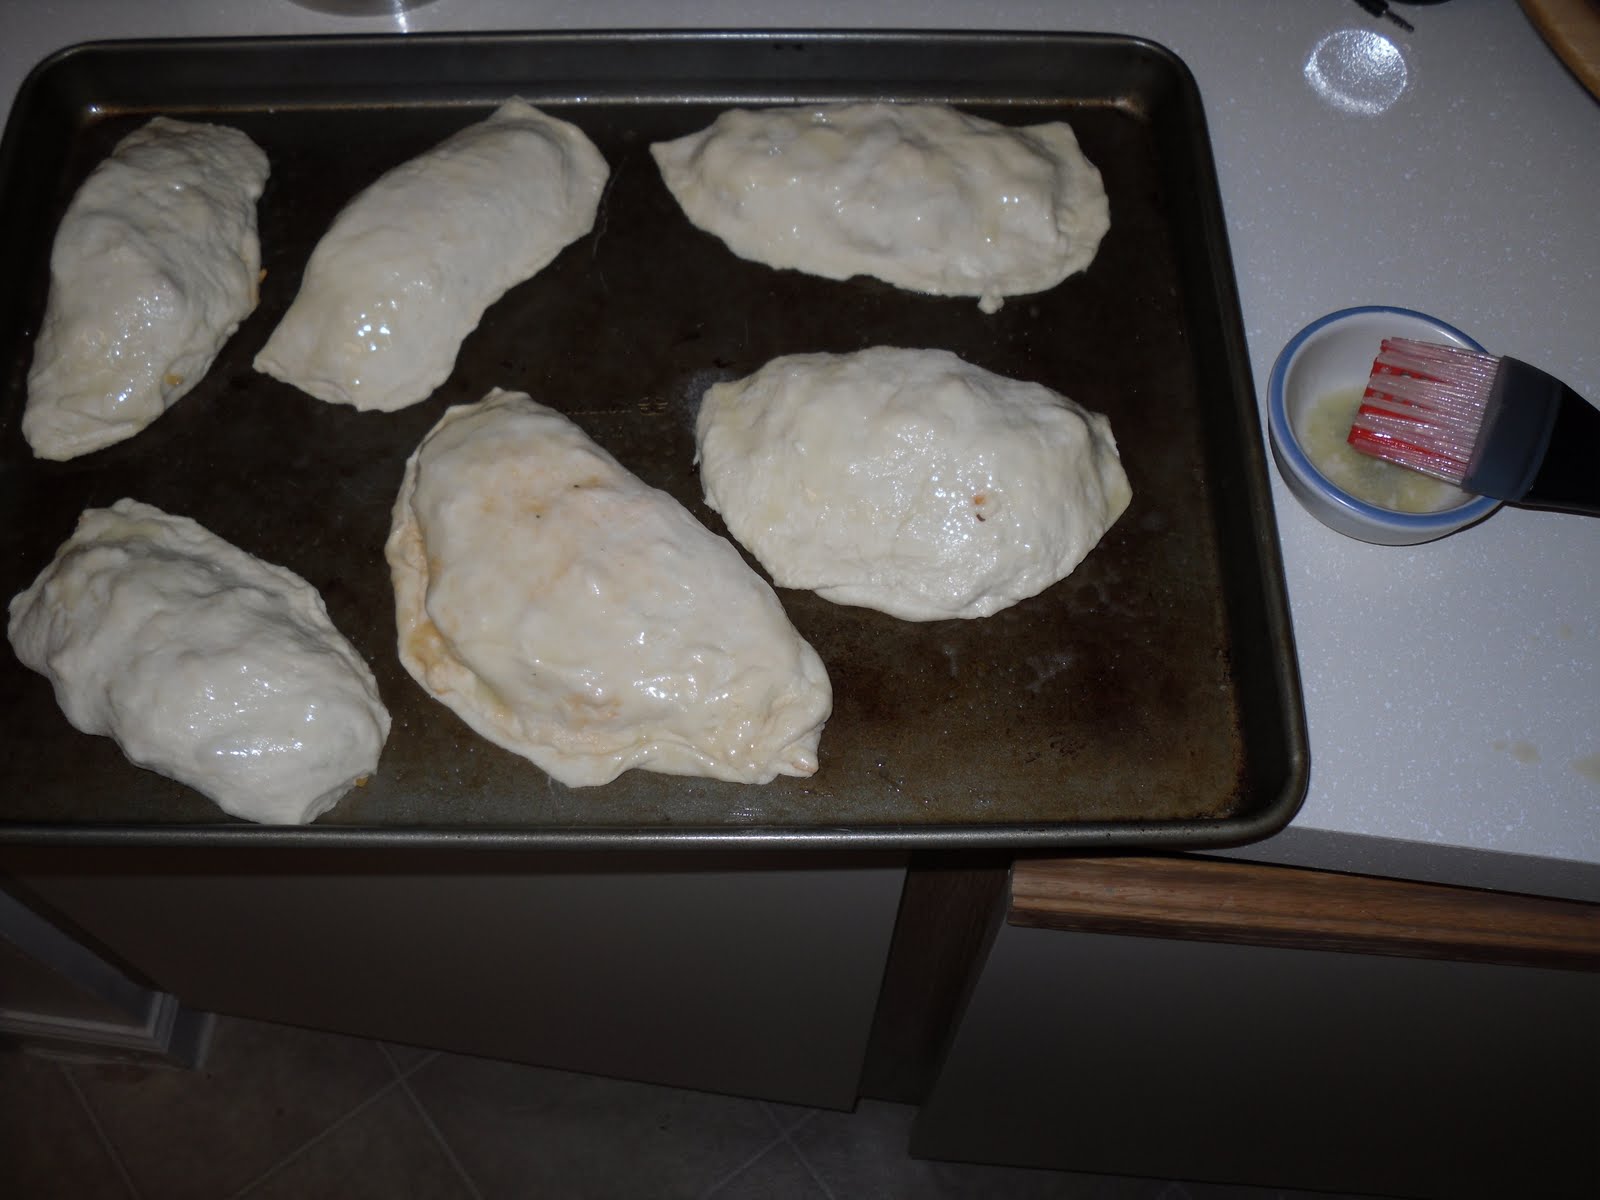
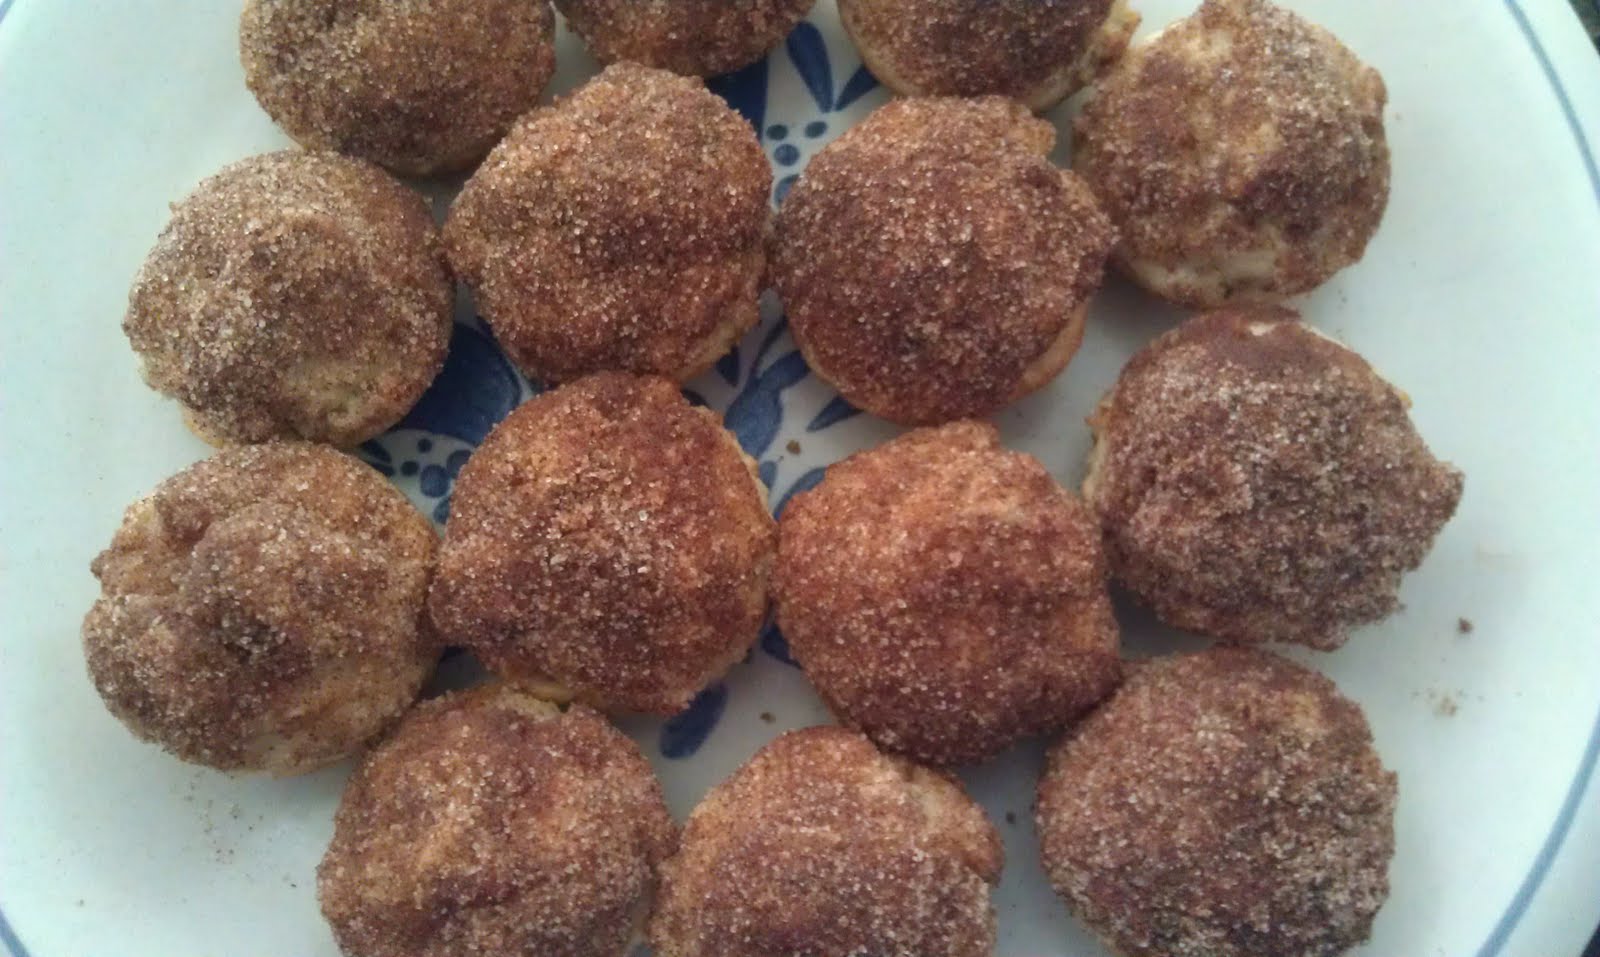
apple dumplings (too yummy to remember to take a picture and I highly recommend you giving this recipe a shot!),

------------------------------------------------------------------------------------------------------------
3-4 apple breads (it is a zucchini bread recipe but they give you the option of making it into an apple bread), 3-4 apple cranberry breads (follow the same directions as the apple bread and add some cranberries),

------------------------------------------------------------------------------------------------------------
apple sauce,

Recipe: (I will warn you, it's a typical Dr. Bob recipe...Megg you can start cringing now!)

Chop apples, put them in a pot with a little water on the bottom, add sugar, cinnamon, ginger, nutmeg (and cranberries if desired; use whole berry canned sauce).  Cook until softened enough to mash.  Taste and adjust spices.

------------------------------------------------------------------------------------------------------------
apple chips.  They totally didn't work out for me which is sad because I was excited to give them a try.  I think I cut them too thin because everyone else that has tried the recipe has had great success.  I will have to give them another go next year.

Pre-baking disaster
------------------------------------------------------------------------------------------------------------
And 5-6 bags of apple slices all seasoned up and frozen ready for a fresh apple pie or crisp on those dark, dreary days of February.

Directions:
Cut apples into desired size as you would for a pie or crisp.  Measure them out to fit in your baking dish.  Put in freezer bag.  Add a hearty "splash" of lemon juice (helps apples not to brown in freezing process), cinnamon and sugar.  Mix so that all slices are covered.  Pop in freezer.


We specifically made some breads for the freezer so that we could enjoy them in the months to come, so we wrapped them in paper towels and put them in freezer bags.  We will eventually take them out of the freezer, let them thaw on the counter and then enjoy as we would had they just come out of the oven.  Yum!


So that was our apple adventure for 2011.  All this apple talk is making me crave some apple bread.  It might have to happen soon!


What are you favorite apple recipes??

Sunday, September 25, 2011

Football = Sunday Funday!

Dr Bob loves football. I love beating my family members in our family fantasy football league!

We have found some great new friends in the area that love football and food. They have the NFL super extravagant, premium edition, no holds bar network package. We love to cook. We are a match made in heaven.

We went to their place for the 2nd weekend of football and brought all necessary items to have an out of this world "Day of Football."

Here is a what we brought all packaged up and ready to go: 1 small cooler, 1 reusable bag filled with necessary items (including a crockpot), and my crocheting bag (very important that I stay semi interested and focused for the day).

Our new pals had a tradition for their previous Sunday Fundays in Wisconsin of ordering Chinese for the first round of munching. Seeing as it was going to take a little while to get our stuff up and going, we figured we would carry on the tradition.

**Side note - one of the biggest shocks moving down here has been the lack of "strip mall cheap chinese places"!! Can you believe it?! They were EVERYWHERE in the 518! We have finally found a few good places though thankfully!
While our tummies were digesting lunch and the next round was cooking, we had a good time watching the games and playing with the pooches (Jake and Wrigley). Clearly Jake thinks he is a lap dog. I could believe how long he stay wrapped around Mike on the couch. It was pretty hilarious and pathetic at the same time.
Wrigley was getting a little mouthy so (and I quote) "It's time to get the dog drunk" was stated. He settled down a bit. Lol. Obviously Jake wanted in on the action too.
Okay enough football and hanging out talk, let's get to the good stuff....or should I say delicious stuff?!

We first introduced Mike and Jillian to our Buffalo Chicken bites: (Ready to go in the oven)
We got this recipe idea out of a little cookbook (Pillsbury Crescents - biscuits & more) that you can find while waiting to check out at the grocery store. Dr. Bob L.O.V.E.S these things...I think we own 3 or 4. The recipe is super easy and super delicious.

Ingredients:
1 package of crescent rolls
1 roasted chicken (we get it from the deli section in the grocery store)
Some Buffalo wing sauce
Cheese (we use cheddar, but you can use any really)

Instructions:
~ Shred the roasted chicken into small chunks. (We have found that it is easiest to this while the chicken is still warm.)
~ Mix in buffalo wing sauce to taste.

(We did these 2 steps the night before so the sauce could marinate, but this is not a necessity.)

~ Unroll crescent rolls.
~ Put a spoonful of the chicken/sauce mixture in the largest part of the roll.
~ Add a bit of cheese
~ Roll up roll making sure it is as closed up as possible.
~ Follow baking instructions on the crescent roll packaging.
~ Enjoy!

Alternatives:
This can be made in various combinations. We have made this with BBQ sauce and pork. Marinara would be yummy. I would love to try it with teriyaki and chicken. The ideas are endless!

And feel free to have something to dip these suckers into such as ranch or blue cheese. We kept them plain this time but have done it in the past.


Next, we found some bratwurst on sale so Dr Bob pan fried them in beer and then let them simmer for a good long time.
I don't eat them but I heard they were delish! (If you have more questions about these suckers, let me know and I will have Dr Bob address them.


Crock pot Mac n' Cheese....need I say more?!
This recipe came out of another grocery check out line cookbook called "Slow Cooker Recipe Book."

Info:
Serving Size: 7
Per Serving: 170 cal, 17 g pro, 15 g carb, 0 g fiber, 4.5 g fat, 2.5 g sat fat, 400 mg sodium.

Ingredients:
2.5 cups fat-free milk
3 cups shredded or cubed low-fat cheddar cheese
1 large egg, beaten
1 tsp salt
8 oz elbow macaroni (about 1/2 box), cooked al dente

Instructions:
1. Combine milk, cheese, egg, and salt in a 4 quart or larger slow cooker. Add ground black pepper to taste.
2. Cover. Cook on high 30 minutes. Add macaroni and stir. Cover and cook on low 2 hours longer. Serve sprinkled with grated parmesan cheese, if desired.

We will often make a double batch because it goes quickly in this house and it is a great side dish for lunches and dinners! Also very easy to freeze and reheat.


Finally, we couldn't forget about an Erin favorite: Turkey Chili Dip!
I actually forgot to take a pic right after it came out of the oven so here it is somewhat devoured. There were no leftovers of this sucker!

A friend brought this wonderful recipe into my life a few years ago and I can't say thank you enough! I truly <3 this recipe!

Ingredients:
1 packet of cream cheese
1 can of Hormel's chili (I prefer turkey chili obv)
Cheese (any type is acceptable except the super duper healthy stuff - I ended up causing a small oven fire once because the healthy cheese wasn't melting and it caught on fire when I put it on broil...never again. Somethings are just not meant to be healthy!) ;-)

Instructions:
~ Layer the cream cheese on the bottom
~ Add chili (I like to season with some salt and pepper)
~ Add desired amount of cheese
~ Cook at 350 degrees for 15 minutes or until cheese has melted.

*Make sure to let this cool off before digging in. It is hard to resist it but your intact taste buds will thank you!

So that is what we made up for our "Sunday Funday" event. It was a pretty awesome day all around, if I do say so myself!

Towards the end of the second game, Ms. Jillian prepared an awesome dessert which included a cake mix, butter cream cheese and a little bit of amazing. Not quite sure what it was made of, but I know it tasted really yummy!

So that about wraps it all up. Fun friends, fun food, fun times!

Questions:
Do you watch football? If yes, by choice or by force?

What do you munch on while it is on?

Thursday, August 4, 2011

Melt in your mouth min muffins

Today's amazingly yummy treat comes to us via Little House on the Prairie Living. Dr. Bob found the recipe and proceeded to do what he does best when it comes to baking, "Baby, you should try making this recipe!"

But it sounded too good not to try.

You can find the recipe here. The recipe makes 24 mini muffins.

The only things I added were:

1.) 2 tablespoons of flax seeds to make it a smidge healthier
See the flax seeds....
And 2.) cinnamon to the topping because just the sugar wasn't enough for me. I am definitely a cinnamon and sugar type of gal.Don't they look delicious?!

I actually made something along these lines for the day my nephew was born (to have something for people to munch on while visiting) and while that recipe was good - this one was a lot better and quicker! I will absolutely use this one again.

Like I said, it is beyond simple and quick. I think it took me 45 minutes from pulling out the ingredients to being completely cleaned up.

Little bits of heaven!

Give the recipe a try and let me know what you think!

Sunday, July 31, 2011

Soft Pretzel Bites

Dr. Bob found this recipe on the website "Crepes of Wrath."

Go there.

Make recipe.

Love it.

That is all!

:-)

Friday, July 22, 2011

Strawberries, strawberries every where....

Well hello again, so nice to see you visiting our page and checking out all of our yummy delicious recipes! I am pretty excited about this one. It is all things strawberries! And strawberries happens to be one of my FAVORITE fruits ever!!

Can you believe that I have never been strawberry picking as an adult?! The unbelievable horror right?! I am about 90% sure we used to go as kids all the time but I just never get around to it during strawberry season! UGH! I definitely thought this year was going to be my year....I had every intention....I planned for it all year...but alas it didn't happy yet again. :-( We had a few things going on this June (when strawberries are in season in New York). I don't know why it would get in the way or anything. What was that little thing that got in the way and kept me from doing what will one day become one of my favorite things to do each spring/summer???

Oh that's right, we decided to move 1100 miles away from home! So we were busy tossing unnecessary items, cleaning, organizing, packing, eating through our fridge so we didn't have to toss out tons of good food! It really put a damper on our time in the kitchen and that made us pretty sad. I think that is why our storage freezer is currently filled to the brim and we haven't even been here a month yet! (Plus it took us almost 2 weeks to find a pan to sit under our freezer to protect the rug in case it decides to suddenly defrost and get water everywhere!)

Okay enough jibber-jabber....let's get to the point of today's post: what to do with yummy, delicious strawberries!

Remember this picture of all our delicious purchases from the huge farmers market?
See all those strawberries?? Well something needed to be done with all of them because I love them and all but I wouldn't be able to sit there and eat all of them one by one. I think I would turn into a strawberry at that point!

So I started off by prepping them. Stems and bad sections were cut off and then they took a bath to get rid of any dirt or other things I don't want to think about.

I knew I wanted to try a recipe from The Frugal Girl called freezer jam. She made a bunch at the height of strawberry picking season and it sounded delicious! You can find the recipe here. It is great and she leads you through step by step. Here is the finished product of my freezer jam:
Doesn't it look delicious?? I bought some bagels the other day (rare occurrence in this household) but have been loving the toasted bagels with freezer jam as a topper. Today I took it to a new level and put peanut butter on first and then jam.....YUM!

Next I used a recipe that the Doctor found in our "Better Homes and Gardens - New Cook Book" called "Fresh Strawberry Pie." Luckily I was able to find the recipe online so I don't have to type it all out!

First they have you make a Baked Pastry Shell which you can find the recipe here. It is a basic recipe where you follow the ingredients to make the dough but then make sure to look for the extra instructions for the Baked Pastry Shell. Pretty simple recipe.

Then you get into the heart of the matter and make the strawberry filling which you can find the recipe here. I definitely thought it was going to be a lot harder than it was but it totally wasn't hard at all. The best idea I had was to blend the strawberries for the glaze in my knock off "magic bullet" since I don't have a food processor. Super easy!

When the pie is all put together, you pop it in the fridge to cool for about an hour or two and Tah Dah:

A beautiful strawberry pie! And make sure to serve with some great tasting whipped cream!

Even after making the freezer jam and the strawberry pie (which, put together, accounted for at least 14 cups of fresh berries) I still had a bunch of strawberries left over!

So I packaged them up in 1/2 cup servings, threw them into snack bags, and tossed them in the freezer for future breakfast shakes!That's right....14 snack bags full of fresh and delicious strawberries!

Have I mentioned that I love strawberries??

Have you also noticed a trend here? Dr. Bob usually posts about the savory while I take care of the sweets?! That's how we roll in this household.

Well thanks for spending some time with me talking all about strawberries. Stay tuned for next time. I went on an adventure on Wednesday which may lead to my next post. Want a hint? Here you go:
Have a great day everyone and try to stay cool in this terribly hot weather!

Reader Questions:
Do you like strawberries?

What kinds of treats do you make with fresh fruit?

Friday, July 15, 2011

Chocolate Chip Cookies


Hellooooooooooooo,

The Doctor and I were in the mood to do some baking last night...really I just needed some chocolate in the house...let's be honest here!

A while back we found this AH-mazing chocolate chip recipe in our "Betty Crocker's New Cookbook - Everything you need to know to cook" and we use it all the time.


Prep time: 10 minutes
Bake time: 40 minutes
Makes about 4 dozen cookies

*We made 2 batches this time. Yup that's right, we had 8 dozen cookies in our house! Dr. Bob decided to bring some in to the office as a way to meet people since he is the new guy in town so now we only have about 5 and 1/2 dozen left. They are all packed away nice so I won't be "housing" them all today. We'll get into that later.

Alright, let's get on with it.

Ingredients:
3/4 cup granulated sugar
3/4 cup packed brown sugar
1 cup stick margarine or butter
1 large egg
2 1/4 cups all-purpose flour
1 teaspoon baking soda
1/2 teaspoon salt
1 cup coarsely chopped nuts (we always omit these)
1 package (12 ounces) semisweet chocolate chips (2 cups)

Ignore the vanilla extract, we thought it was in the recipe so it was included in the photo but it's not.

Heat oven to 375 degrees.

Mix sugars, margarine and egg in large bowl.

Note - you can have the butter soften naturally by leaving it out on the counter for a while before you make the cookies or you can use the microwave. If you use the microwave, make sure to set it to 50% power for about 25 seconds. You may then have to turn the sticks of butter over and do 10 more seconds. I accidentally did it on full power for the 25 seconds and it turned out okay but 50% is preferred.


We use a hand held mixer as that is all we currently have and it works just fine.

Hint for immediate family - this year's Christmas present = gift cards to Bed, Bath and Beyond so we can purchase a KitchenAid.

Stir in flour, baking soda and salt (dough will be stiff).

Stir in nuts and chocolate chips.

Drop dough by rounded tablespoonfuls about 2 inches apart onto ungreased cookie sheets.

Bake 8 - 10 minutes or until light brown (centers will be soft). Cool slightly (usually about a minute or 2) on pan after being removed from oven. Remove from cookie sheet. Cool on wire rack.

Super simple!!

Now I told you we did a double batch and you probably already guessed the little switch-a-roo from the ingredient picture...but the 2nd batch is where we subbed the chocolate chips for M&M's.

YUM! All other parts of the recipe were duplicated.

Here is the final product....YAY! My favorite!


Now we obviously aren't going to eat all of these cookies in one sitting, although I wish we could! So what we have done is put them in quart size ziplocks in teams of a dozen and stored them in the freezer. Feel free to take out 1 or 2 for a snack, which I do all the time, or wait until you have guests over and you have a ready made snack/dessert. They will just need to sit out for a bit in order to defrost and not kill your teeth when biting in to these little bits of heaven.

Nutritional Facts - 1 cookie:
Calories 135 (Calories from Fat 70); Fat 8g (Saturated 2g); Cholesterol 5mg; Sodium 100mg; Carbohydrate 16g (Dietary Fiber 1g); Protein 1g.

If you want to make them a little lighter for you, Betty has the answer:
For 4 grams of fat and 90 calories per serving, decrease margarine to 3/4 cup, add 1 teaspoon vanilla with the egg and omit the nuts. Substitute 1 cup of miniature chocolate chips for the 12 oz package of chocolate chips.

Well I hope you all give this recipe a try...we have had rave reviews. It's not even 11am and Dr. Bob says the cookies are going like "hot cakes" at the office!

Happy Baking!

Reader Question: What's your favorite type of cookie?

Sunday, July 10, 2011

Buffalo chicken almost-calzones

This morning, I found a post from Merissa at Little House on the Prairie Living on how to make ranch chicken calzones. We tweaked it some to add a little heat to it (and use cheese we already had), and also found that we aren't used to working with dough in a high-humidity environment, so rather than pretty looking calzones, we finished with more of a "Hot Pocket" type meal.

Ingredients:
3 cups of shredded chicken (we used the meat off a store-bought rotisserie chicken)
1/2 cup fat-free ranch dressing
1 cup shredded mild cheddar cheese
1/3 cup Franks hot wing sauce
1 pack of refrigerated pizza dough


Note: we picked up two packs of dough (yes, we were being lazy, but we also haven't done homemade pizza dough yet) but only used one. The original recipe called for garlic powder, but we just relied on the spice of the wing sauce.


Preheat the oven to 450.

After shredding the chicken


we added the wing sauce, cheese and ranch dressing, and mixed it all up.


Here's where it got tricky. One, we're not used to working with pre-made pizza dough. Two, we recently moved to a much more humid locale. Attempts to roll the dough nice and thin and cut perfect rounds with the biscuit cutter were quickly abandoned.

Plan B - tear off a chunk of dough, roll it as even as possible, and just go for it. Once we rolled the dough, a handful of the chicken mixture was added


and we folded the dough over and pinched it closed like an oversized pierogie.


A quick brush with some melted butter and into the oven they went for 15 minutes.


We got six really good sized pockets out of the recipe, and probably could have made them smaller if we wanted to fight with the dough more. They apparently freeze well, and can be microwaved or re-heated in the oven easily. We plan on freezing them and having them handy for a quick meal.